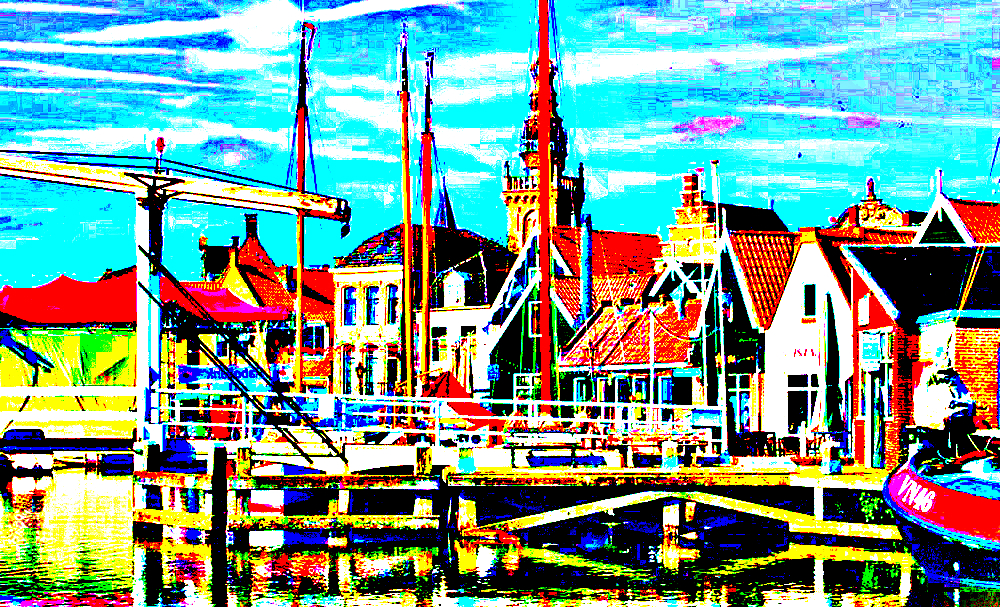
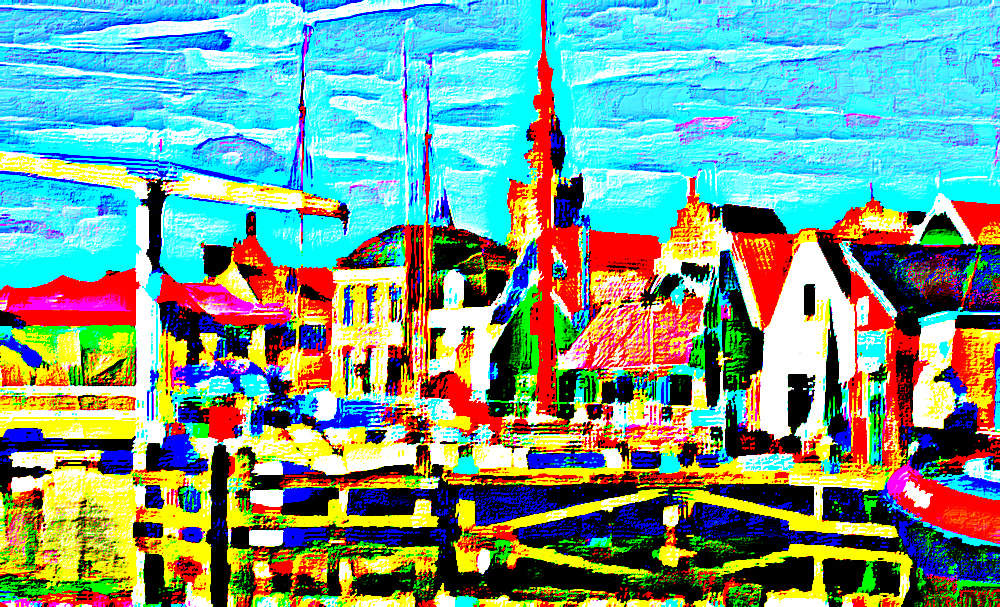
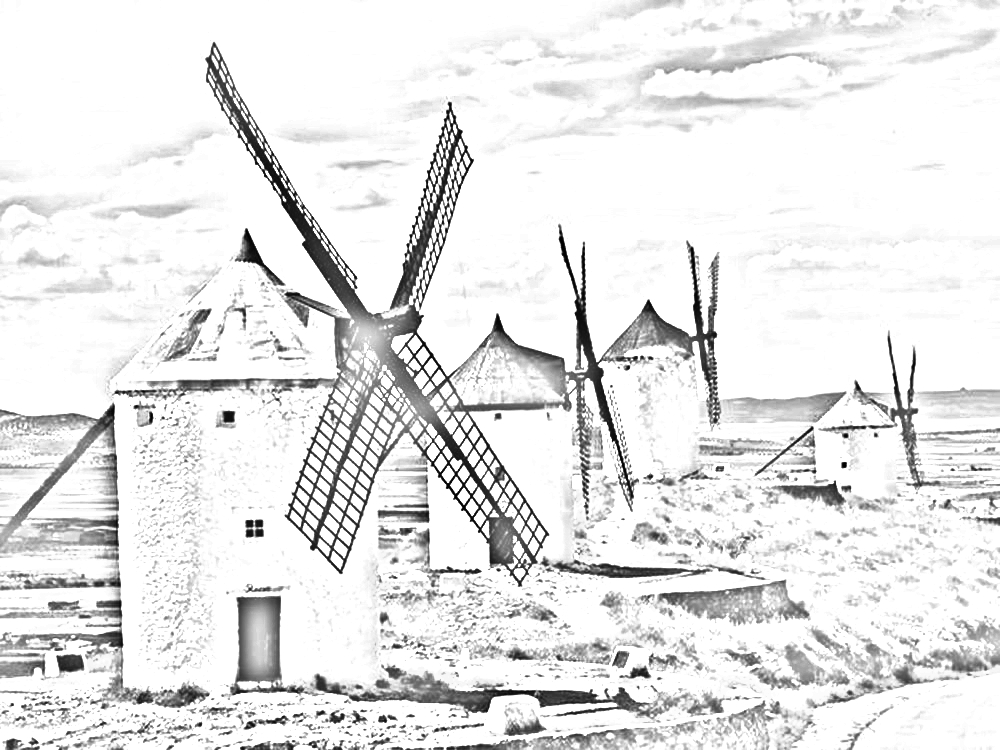
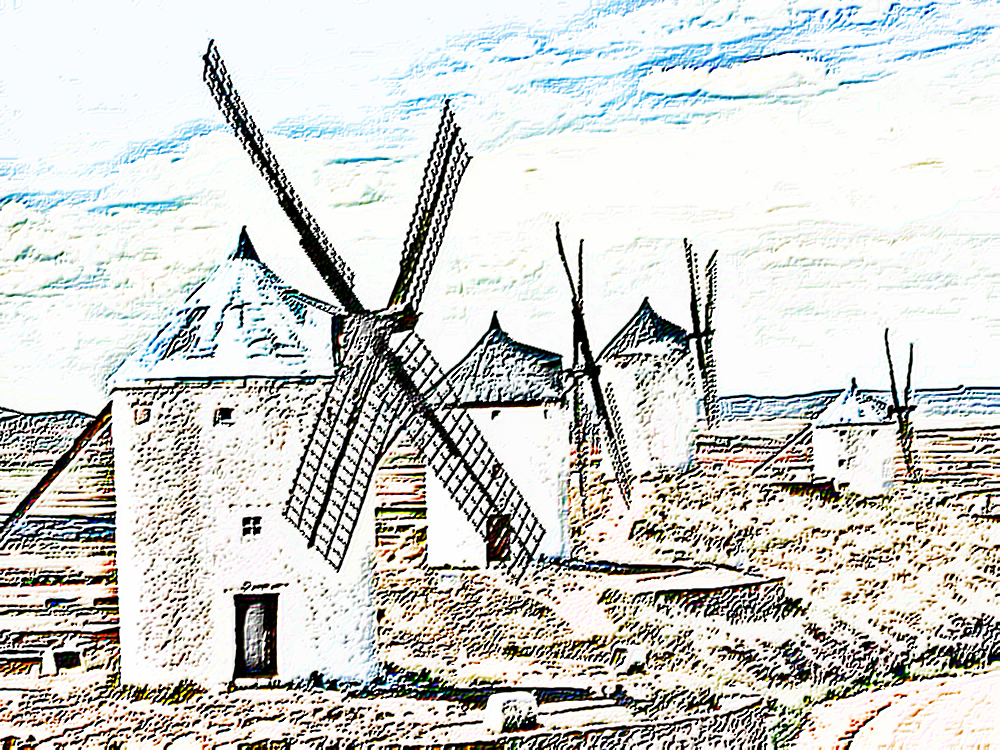
colouring tips
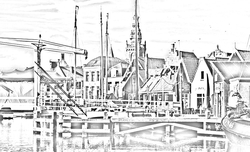
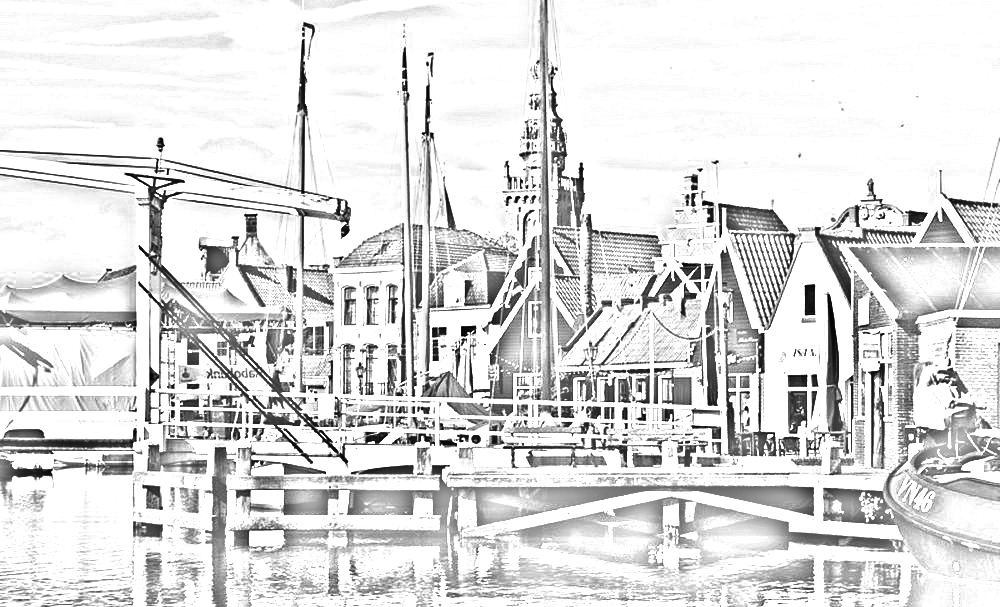
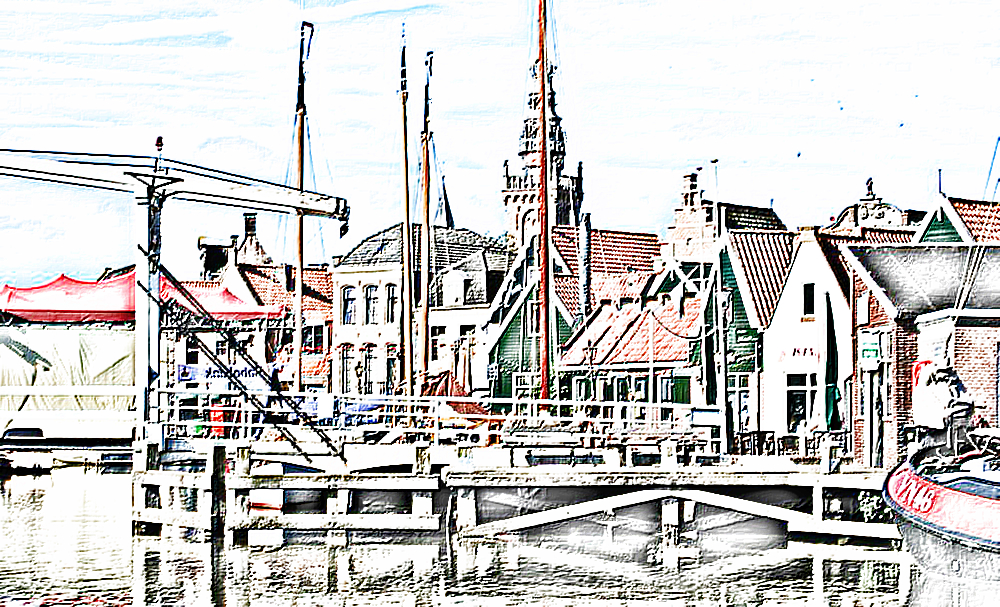
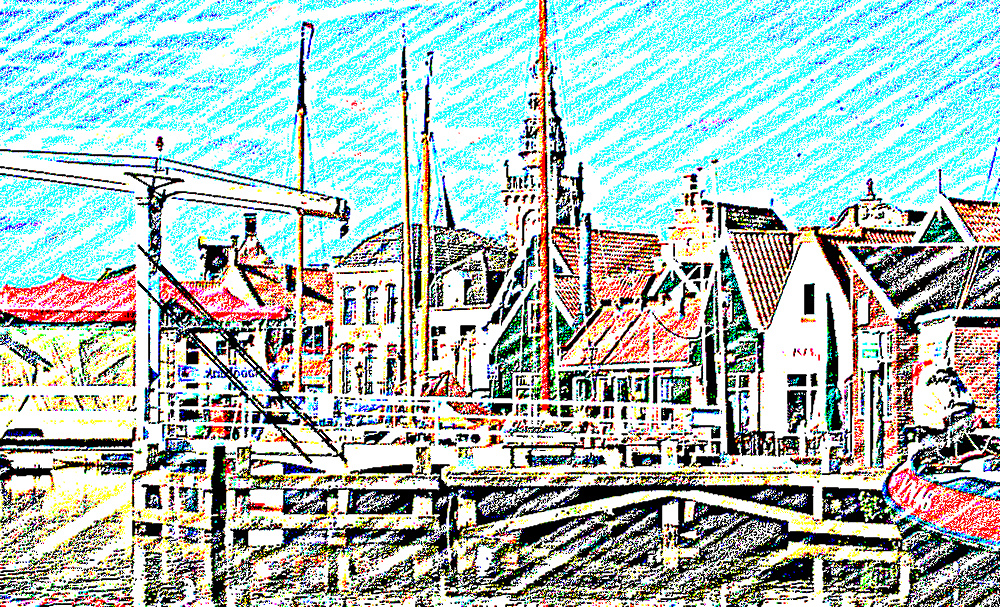
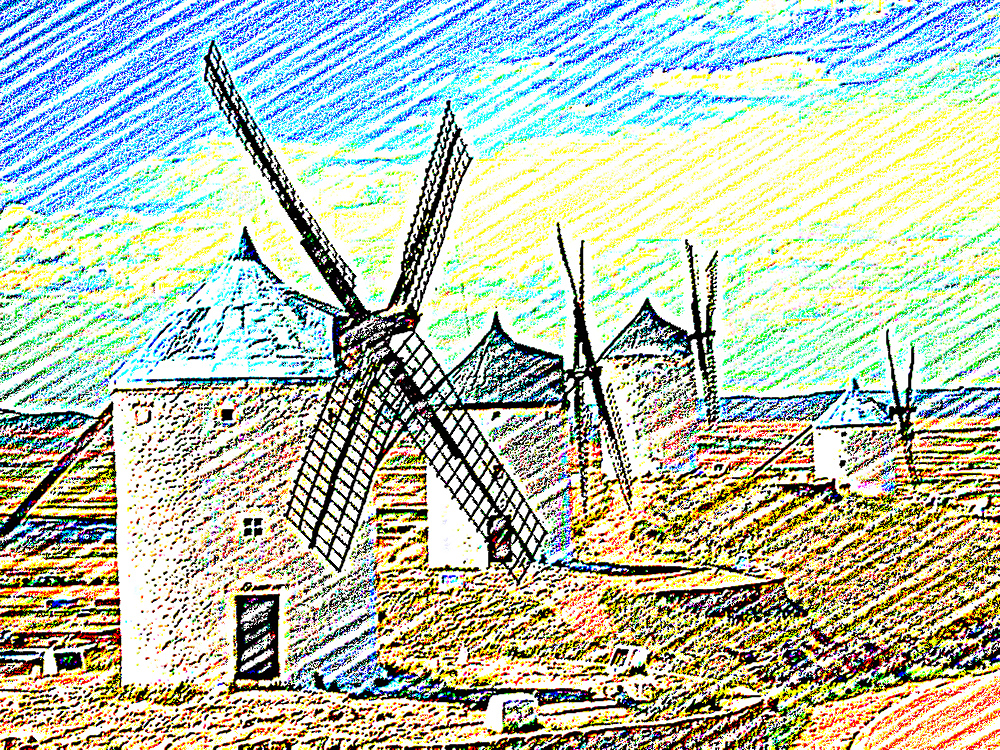
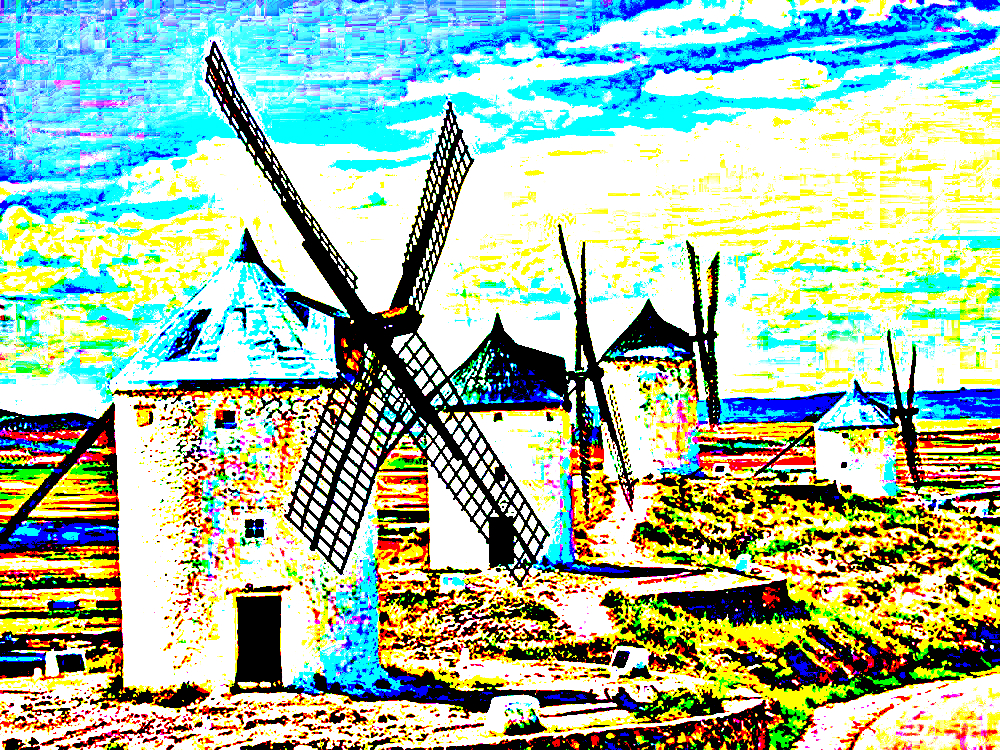
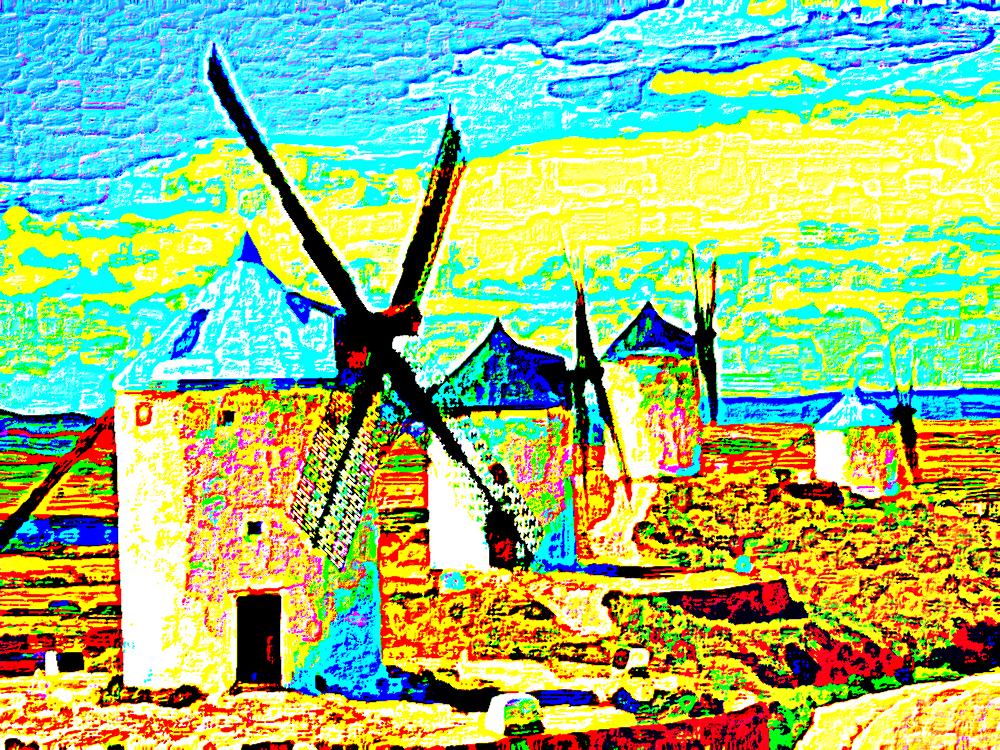
The monochrome stencil or grey-scale images in this book will look similar to this image of Monnickendam taken from the Colours of the Netherlands book. Adjust the settings on your printer to lighten the master images as you become more confident and experienced. One of the great advantages of choosing this e-book is that you can print the monochromes as many times as you like, allowing you to experiment with different colouring techniques and materials like chalks, crayons, paints, pens & pencils. Use whichever makes you most comfortable, there is no right or wrong product. Throughout the book each new image is accompanied by 4 images to help guide and inspire you. Each images portrays a different style. Use the darker shaded areas of the monochrome to guide you in choosing a darker shade. Blues tend to be cooler whilst reds are considered warm. Choose the correct type of paper for the colouring product that you intend to use; heavier weight papers and card can be more suitable for paints and pens.
- If you are using pencils, then the simplest type of shading is to just alter the pressure of your pencil.
- Same colour highlights can be achieved by sharpening your pencil to a fine point then mark around the outer edge of the chosen area.
- Sometimes shaded areas show flecks of white from the paper. My preferred way to smooth them is to use small circular overlapping strokes starting in the lightest area and working out. This will have the benefit of intensifying the colour and smoothing out all the white specks to give a more professional finish.
- Try to blend colours by layering darker colours over lighter ones or layering light over dark both will add a depth to the finished colour.
- Remember to work back and forth when blending two colours so that the transition looks smooth
- Instead of shading entirely by pressure try using a different colour from the same colour group; for reds why not mix a crimson, or a carmine with a pink and for greens try olive and apple with yellows.
- Within a small area, do a small patch at the darkest end and shade away slightly with a little less pressure. Then overlap it with the next darkest colour and so on, so that each colour smooths the transition to the next.
- The most important thing of all to remember is that this is meant to be fun and relaxing. So if you make a mistake, don`t worry, this is an e-book, you can reprint the master and start over!
Copyright © Sean Buckley, MMXX
